|
|
|
....And hello 350!!
In April of 2002, a friend of mine mentioned he had a 350 that he wanted to unload, cheap. It came out of a '72 Monte (Numbers match) but it was all apart. The block is a 2-bolt but has only 50,000 on it (very little wear on the cylinders, stock bore pistons w/ original rings, and original bearings with very little wear.) The heads were also great!
The bottom end is all stock. It has a cast crank, stock rods, and stock pistons. Everything was in perfect shape. For heads, it has "462" Camel Hump heads that came off a '67 Chevelle 327, stock valves and springs.
During assembly, I used Clevite main and rod bearings, ARP main bolts, and the stock rod bolts that I checked for stretching and I torque checked them also. I honed the cylinders and used Hastings rings. All the parts were cleaned heavily and found to be in perfect shape.
I decided on a Summit 1103 cam, 214/224 duration, .442/.465 lift. Very mild and streetable cam. On top is a 3701 Edelbrock Intake, stock qjet and distributor (upgraded previously w/ MSD blaster coil and 6A ignition). Oh, and I used a Cloyes true double roller timing chain. A complete ARP engine bolt kit held everything down, including the GM oil pan, P/N 465221, and Chevrolet valve covers. I also installed a set of Hooker 2050 coated emisisons legal headers. Behind the headers is a Catco converter and Hooker 2.5" Catback.
I chose this cam for two reasons. One, its very streetable. And two, it made the best power in DD2K. With this set up, I get about 350HP @ 5500 but a really nice 400+ft/lb of torque @ only 30000. This thing smokes!!
Since these heads do not have provisions for front accessories, I knew I would need to make my own. For the alternator, I found tapping the lower alternator bracket and the alternator itself, and loctiting a old head bolt in there, was strong enough (So far so good). The power steering actually didn't require any extra brackets but the a/c is another story. I don't have a belt on the a/c because I still need to find a heavy plate to fab up a rear bracket. Also, these heads never came with hardened seats to run unleaded. After taking the heads apart, I found valve spring shims and pretty new looking valve seals which makes me believe that these heads have been gone through at least once. The seats and valves were in good shape which leads me to believe the seats may have already been replaced. If I start loosing performance, I'll know where to look. And I wanted to make sure these heads were going to perform the way I wanted so I didn't want to dump a lot of money into them if I change them later.
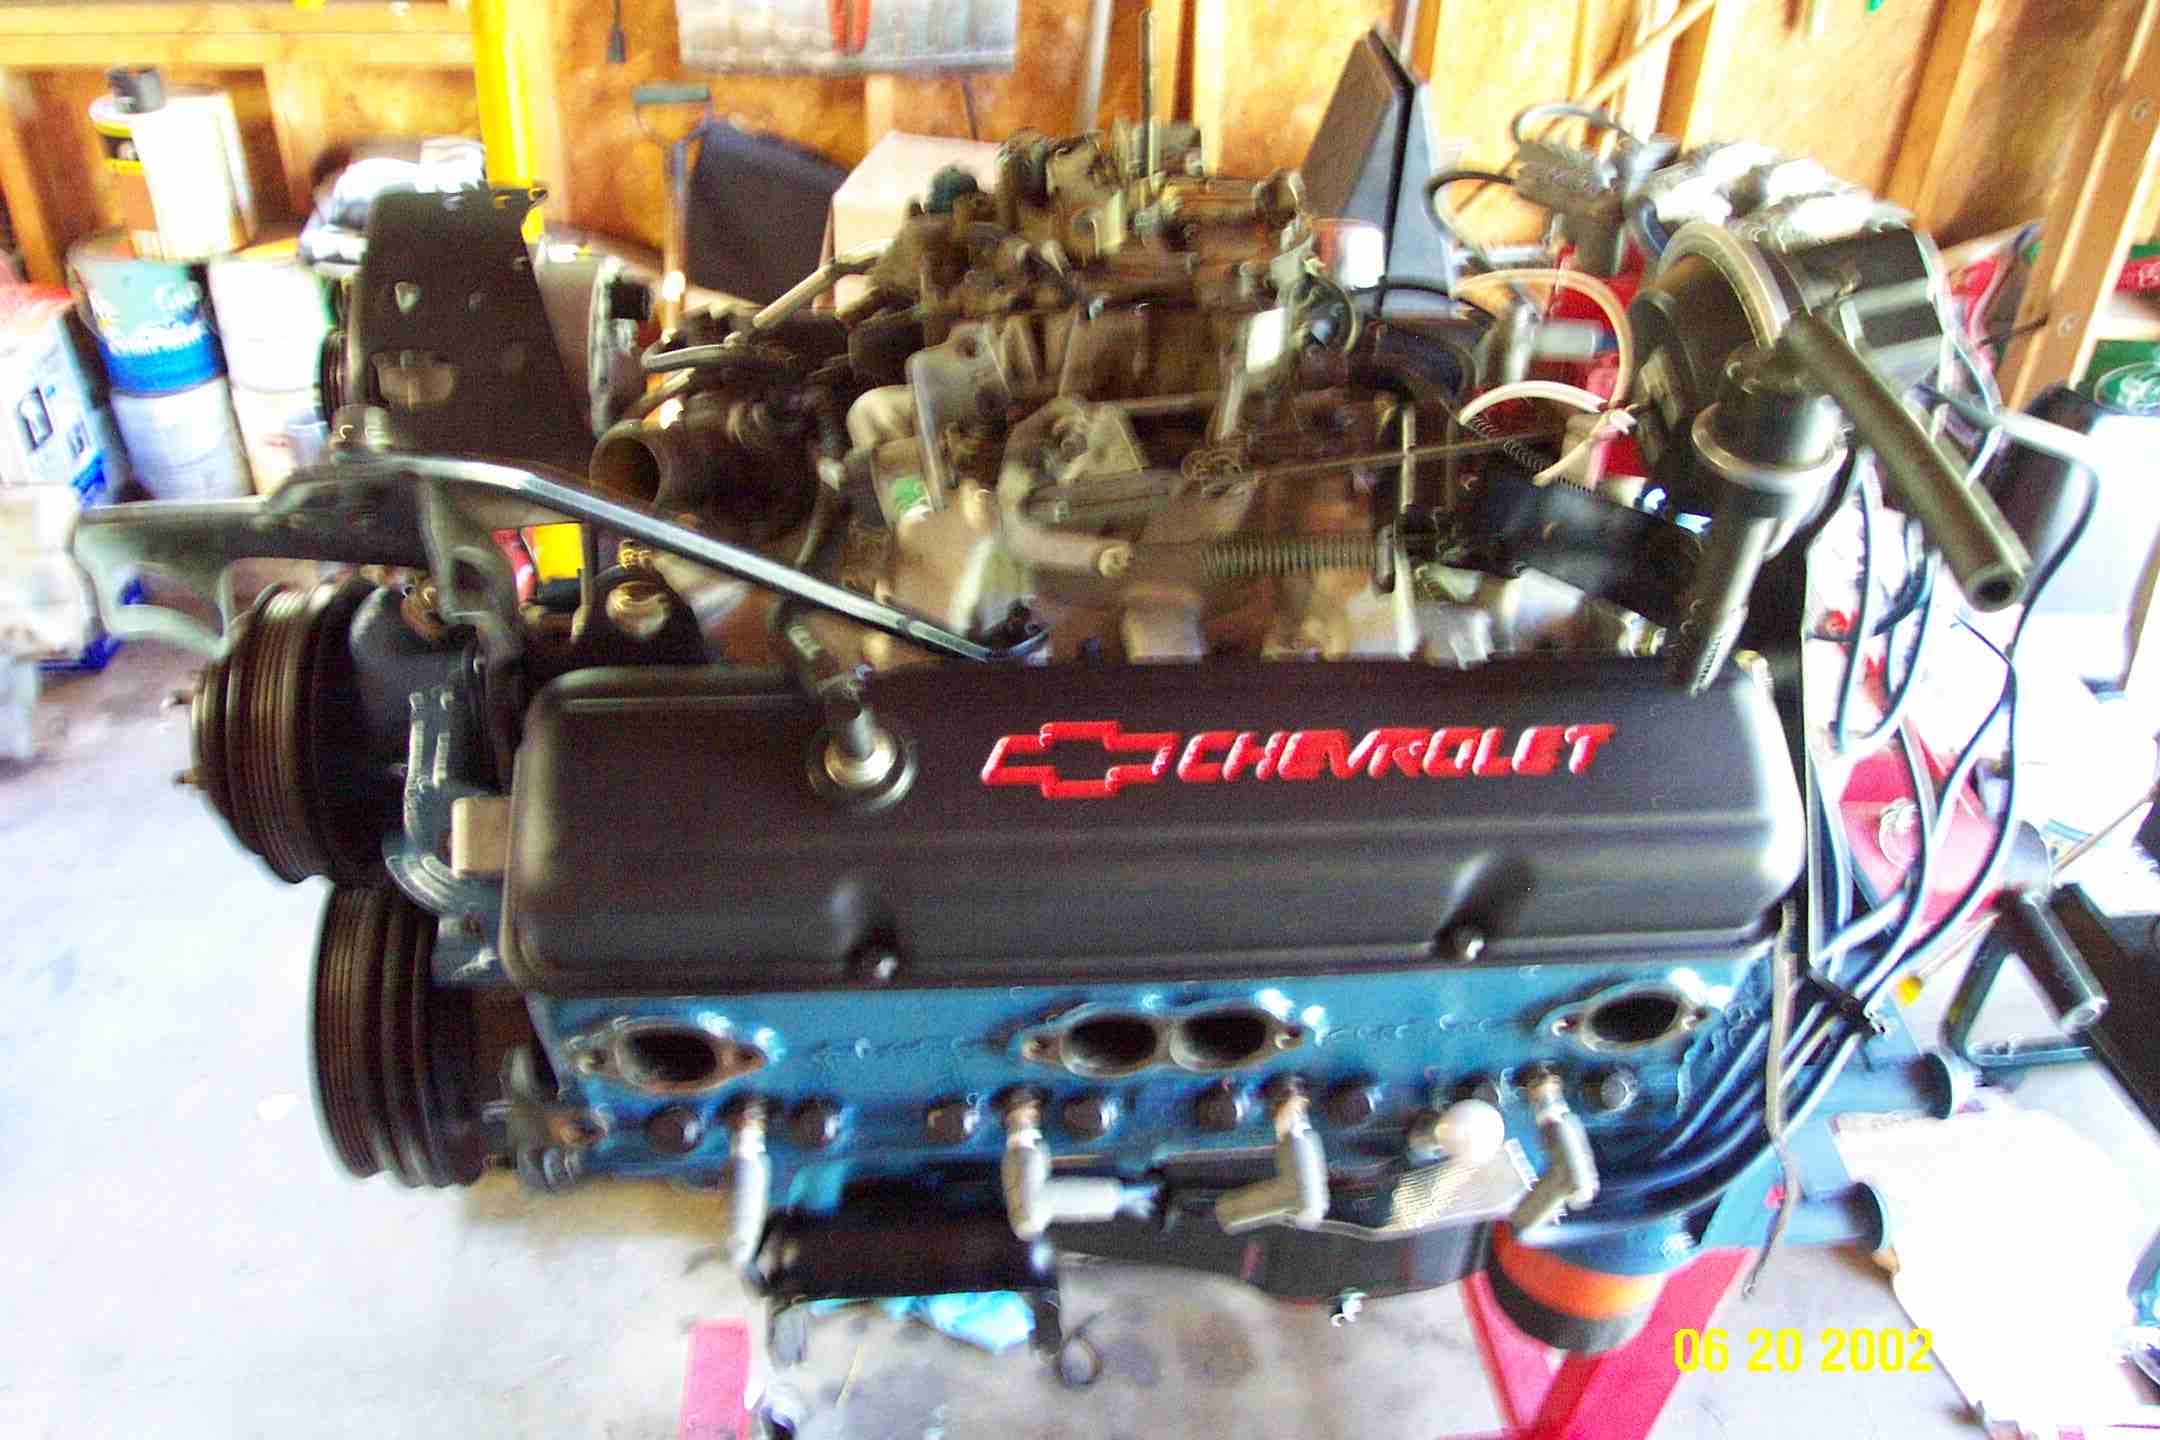
This is the only half decent pic of the motor before installation. I really like the Chevy blue block and the black valve covers.
It only took me about a day to disconnect everything and remove the motor. I spent two days cleaning the bay and the following day, the motor was dropped in. It took me another day and a half to finish installation.
Once I turned the key, I found that it just wouldn't start. It sounded like I was doing a compression test w/ all the plugs pulled. But with some help from the Monte list and Ray Buck, it was decided that my valve lash was too tight. I fixed that and broke the cam in (Although, some say its destined to die since it didn't start right away. Oh well, its gonna get pounded on before it dies, haha).
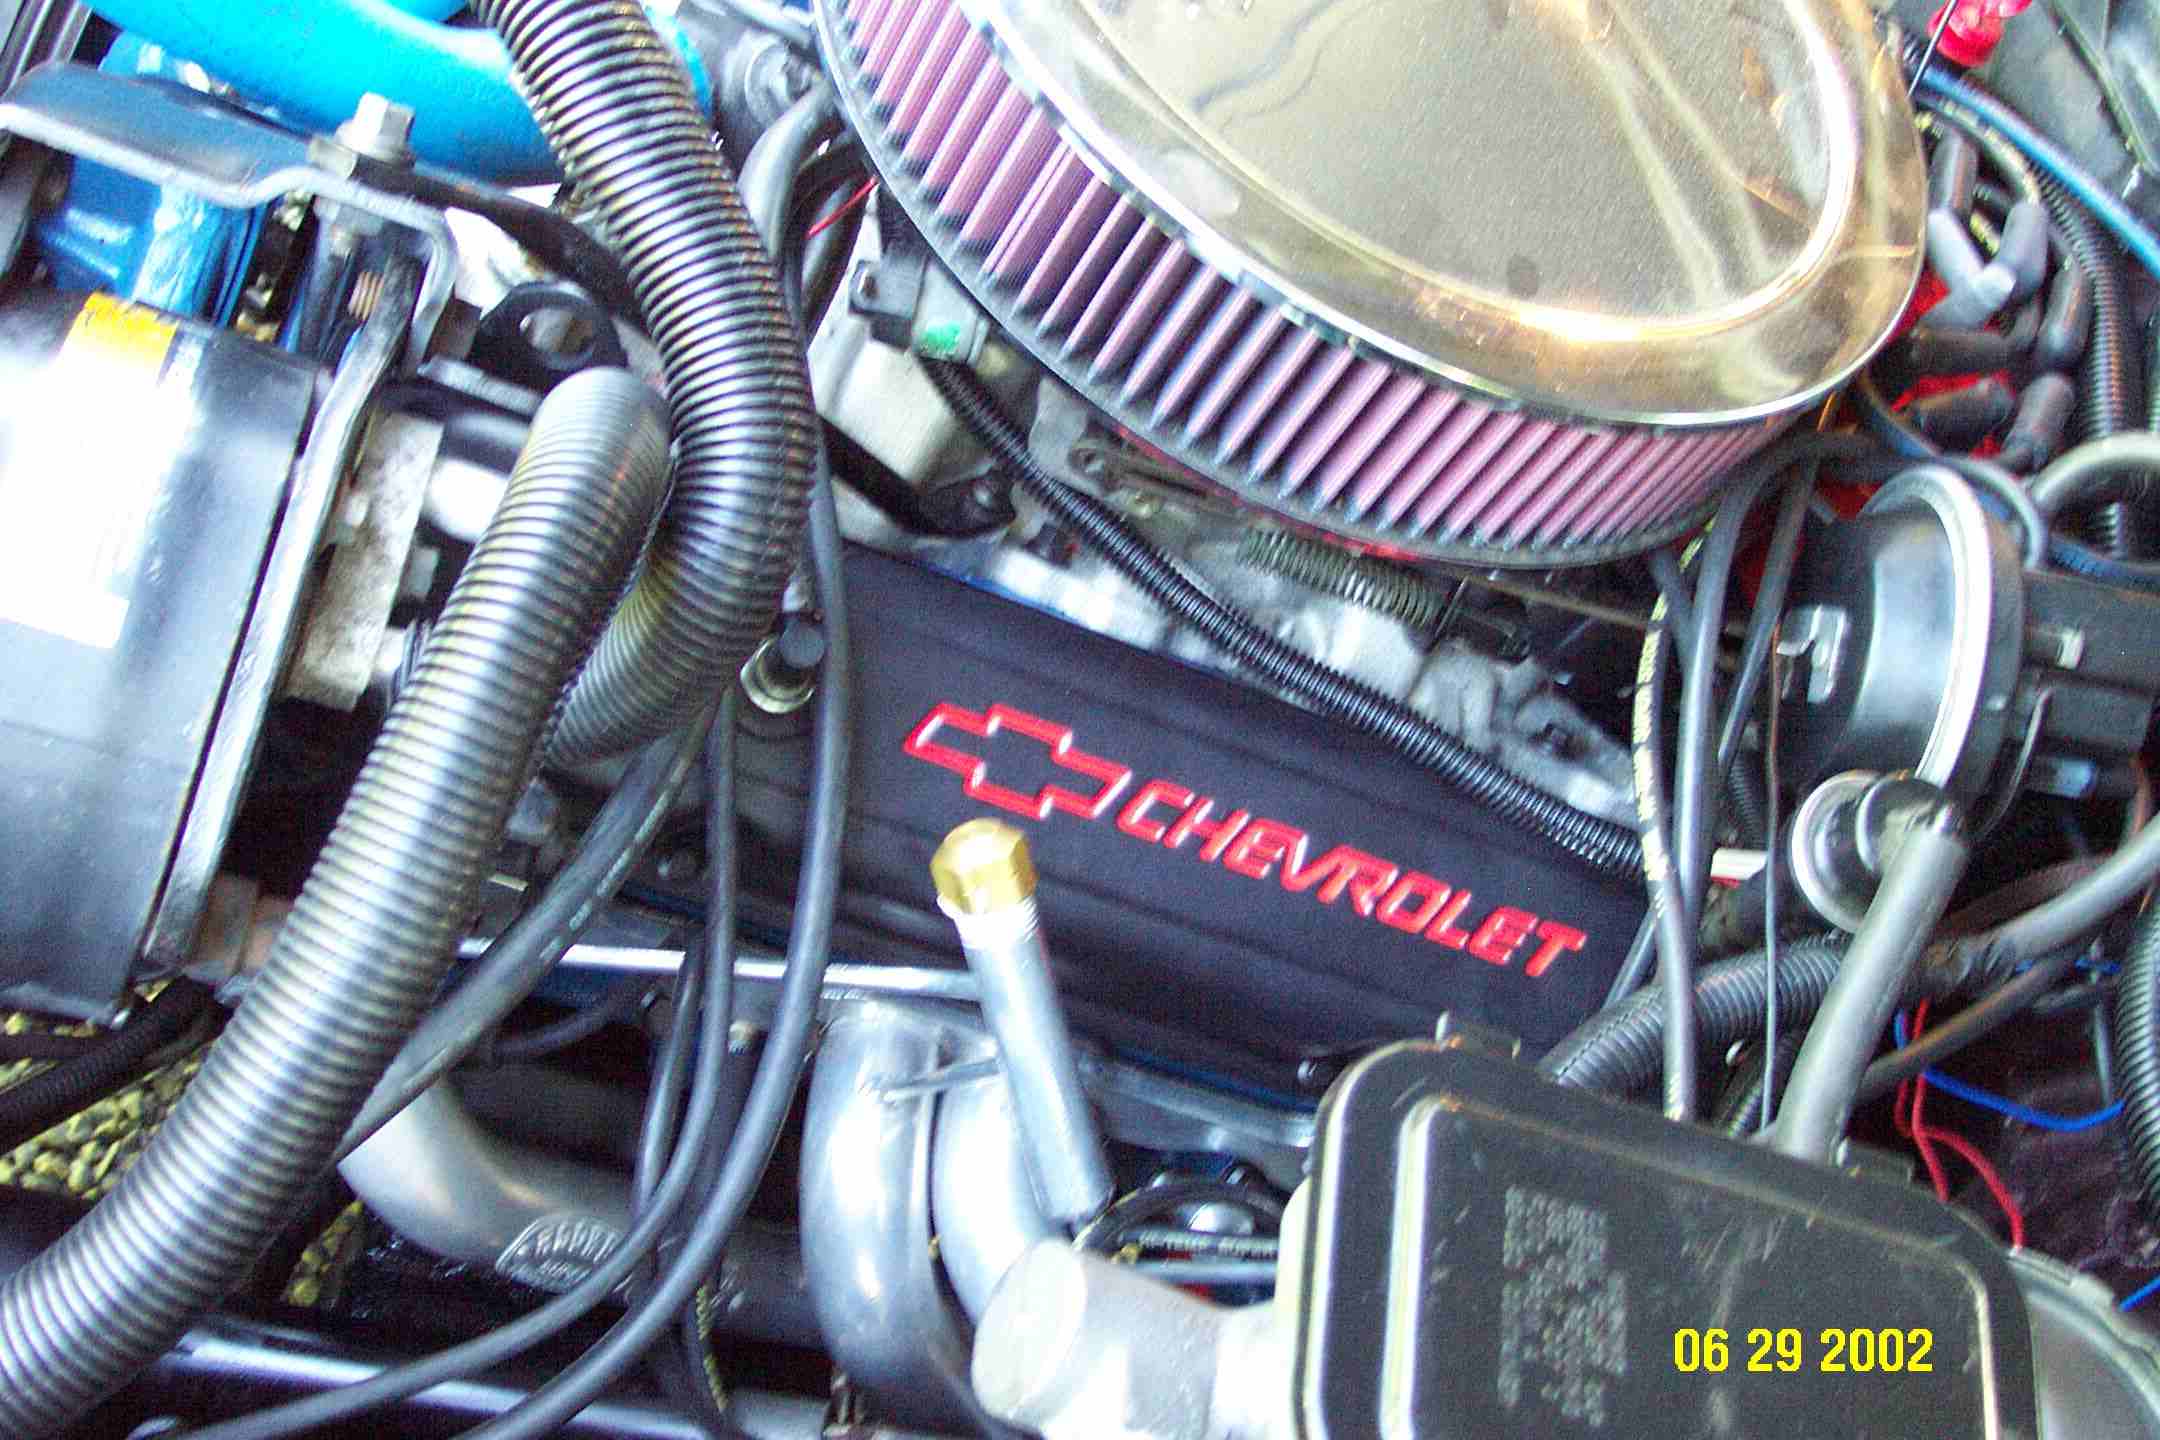
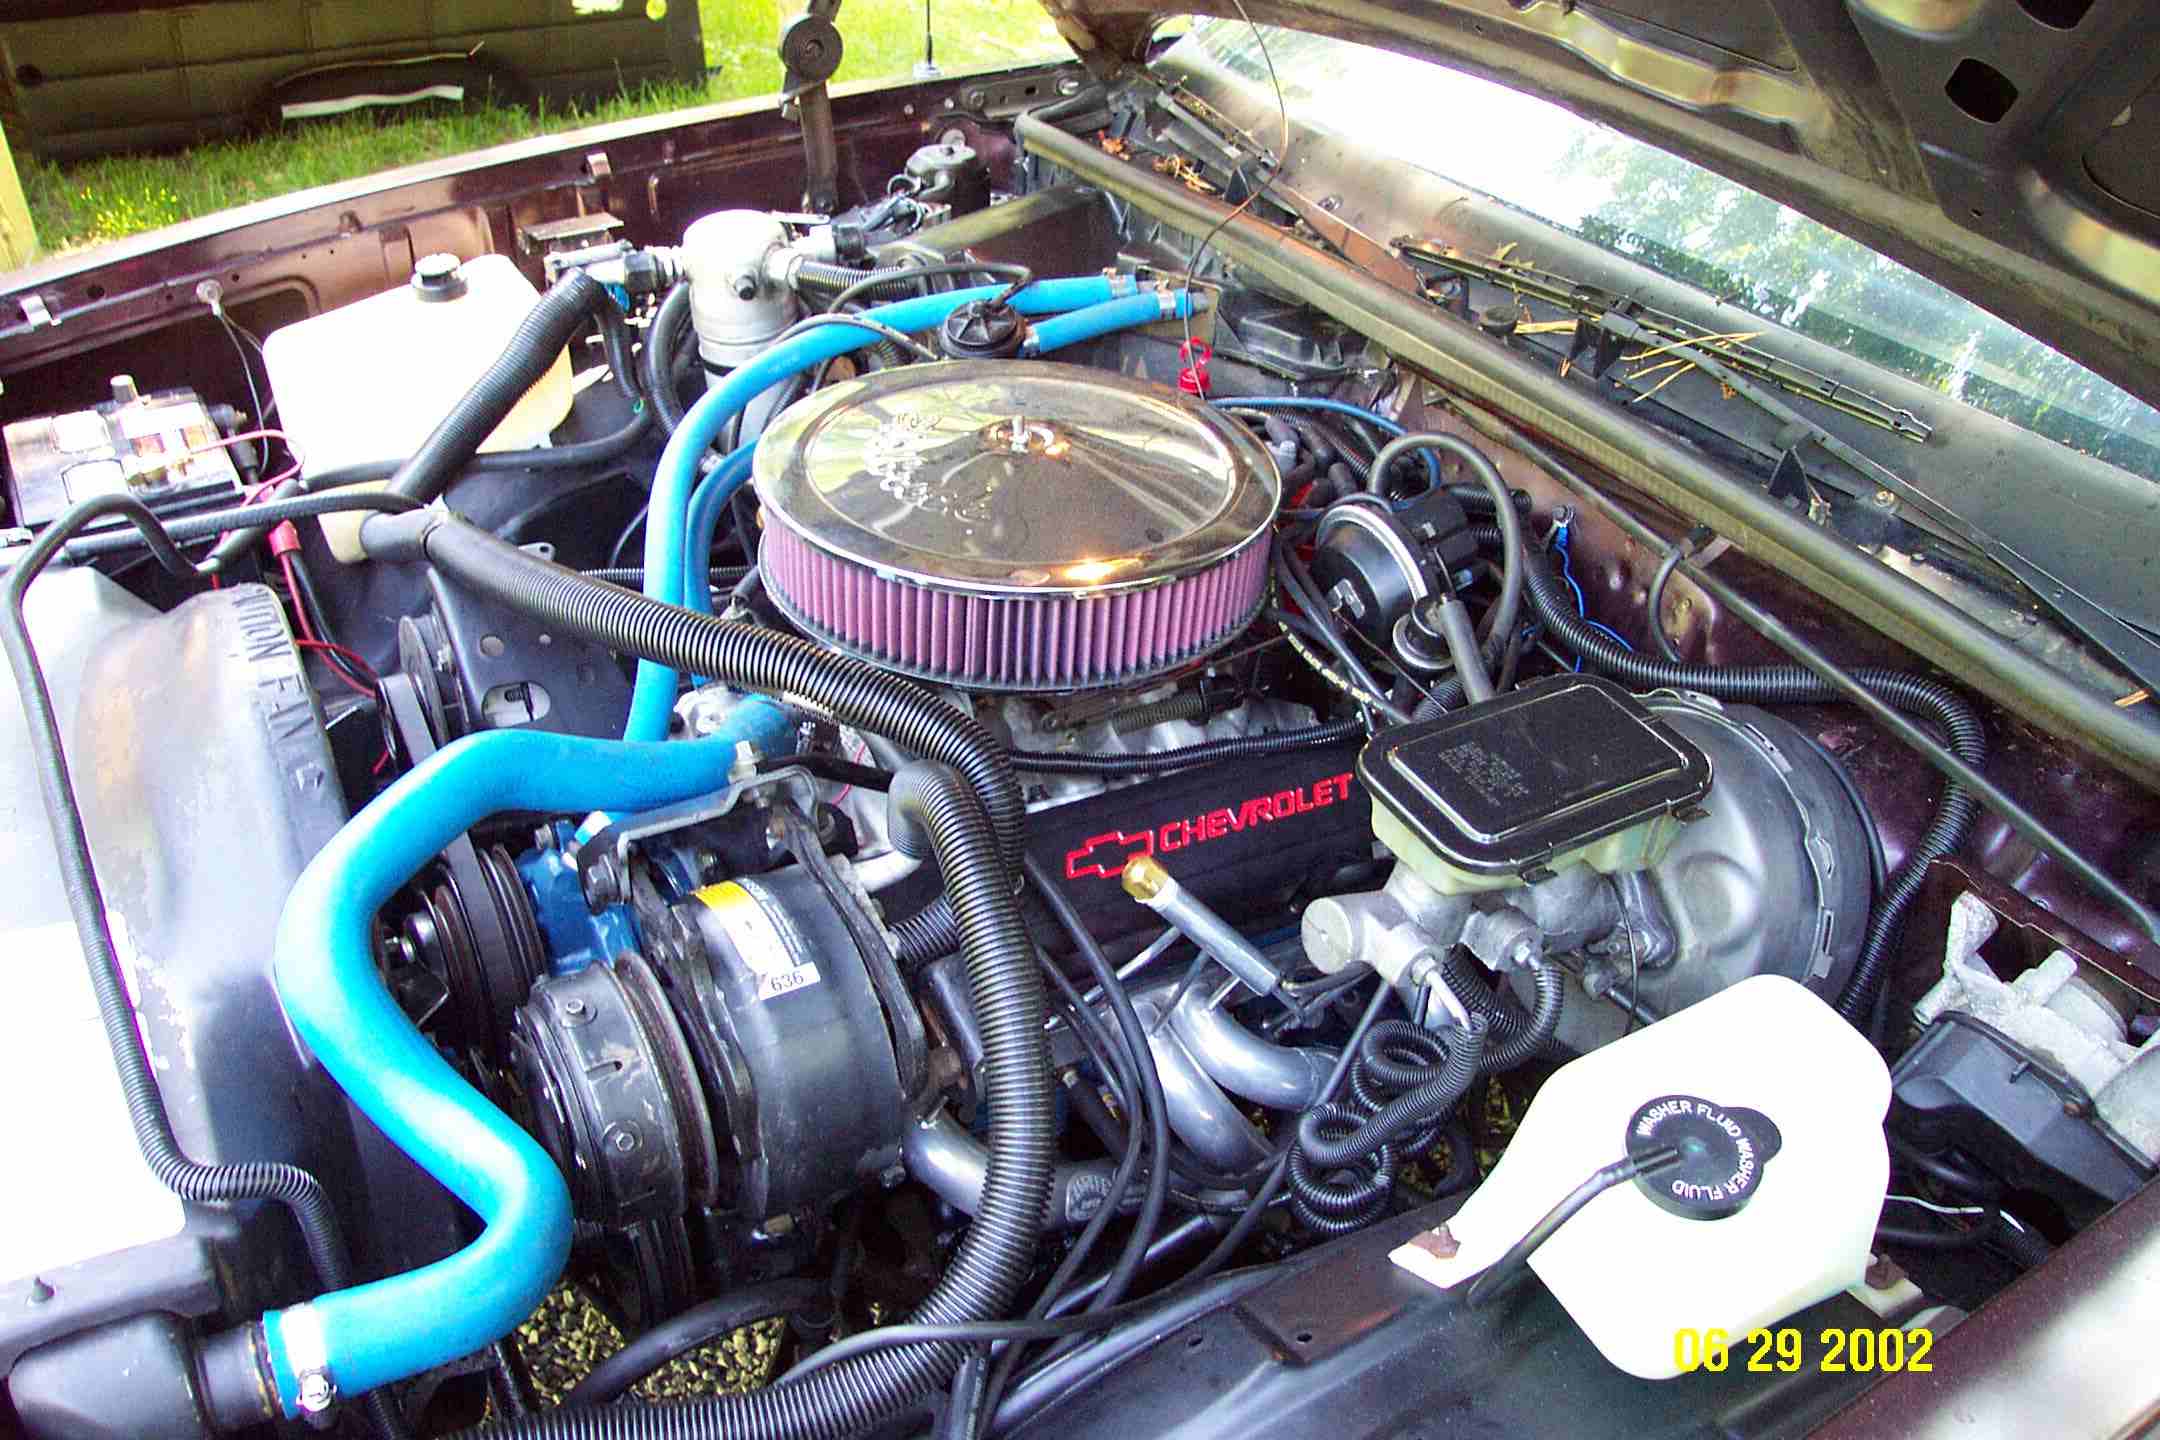
Passenger side after installation.
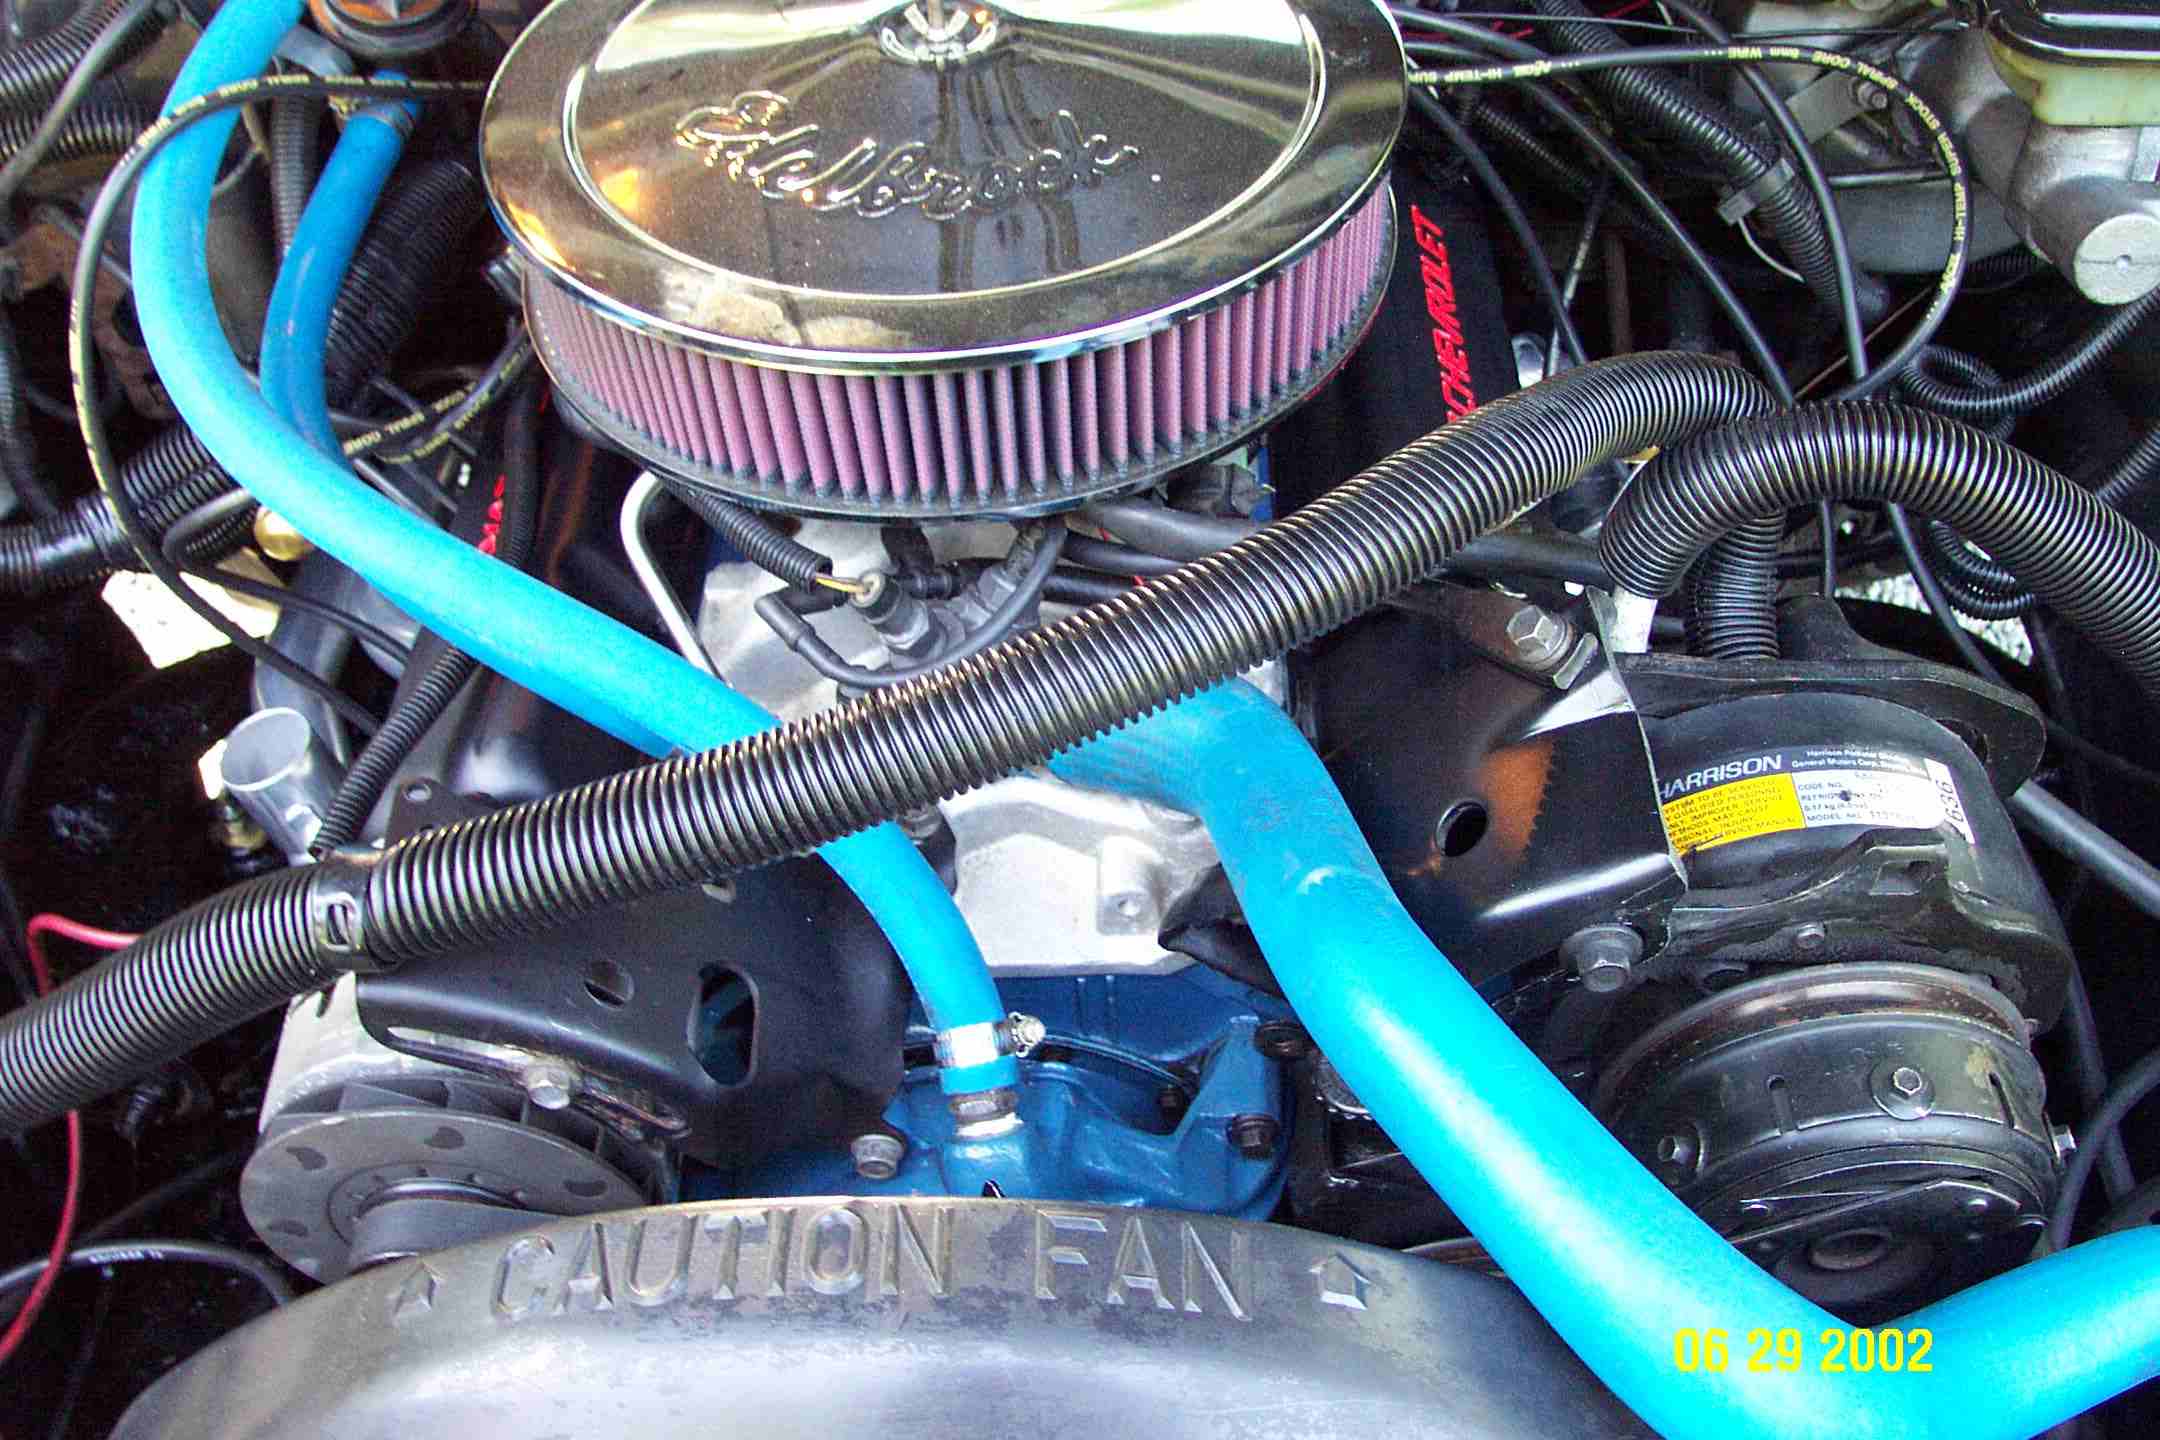
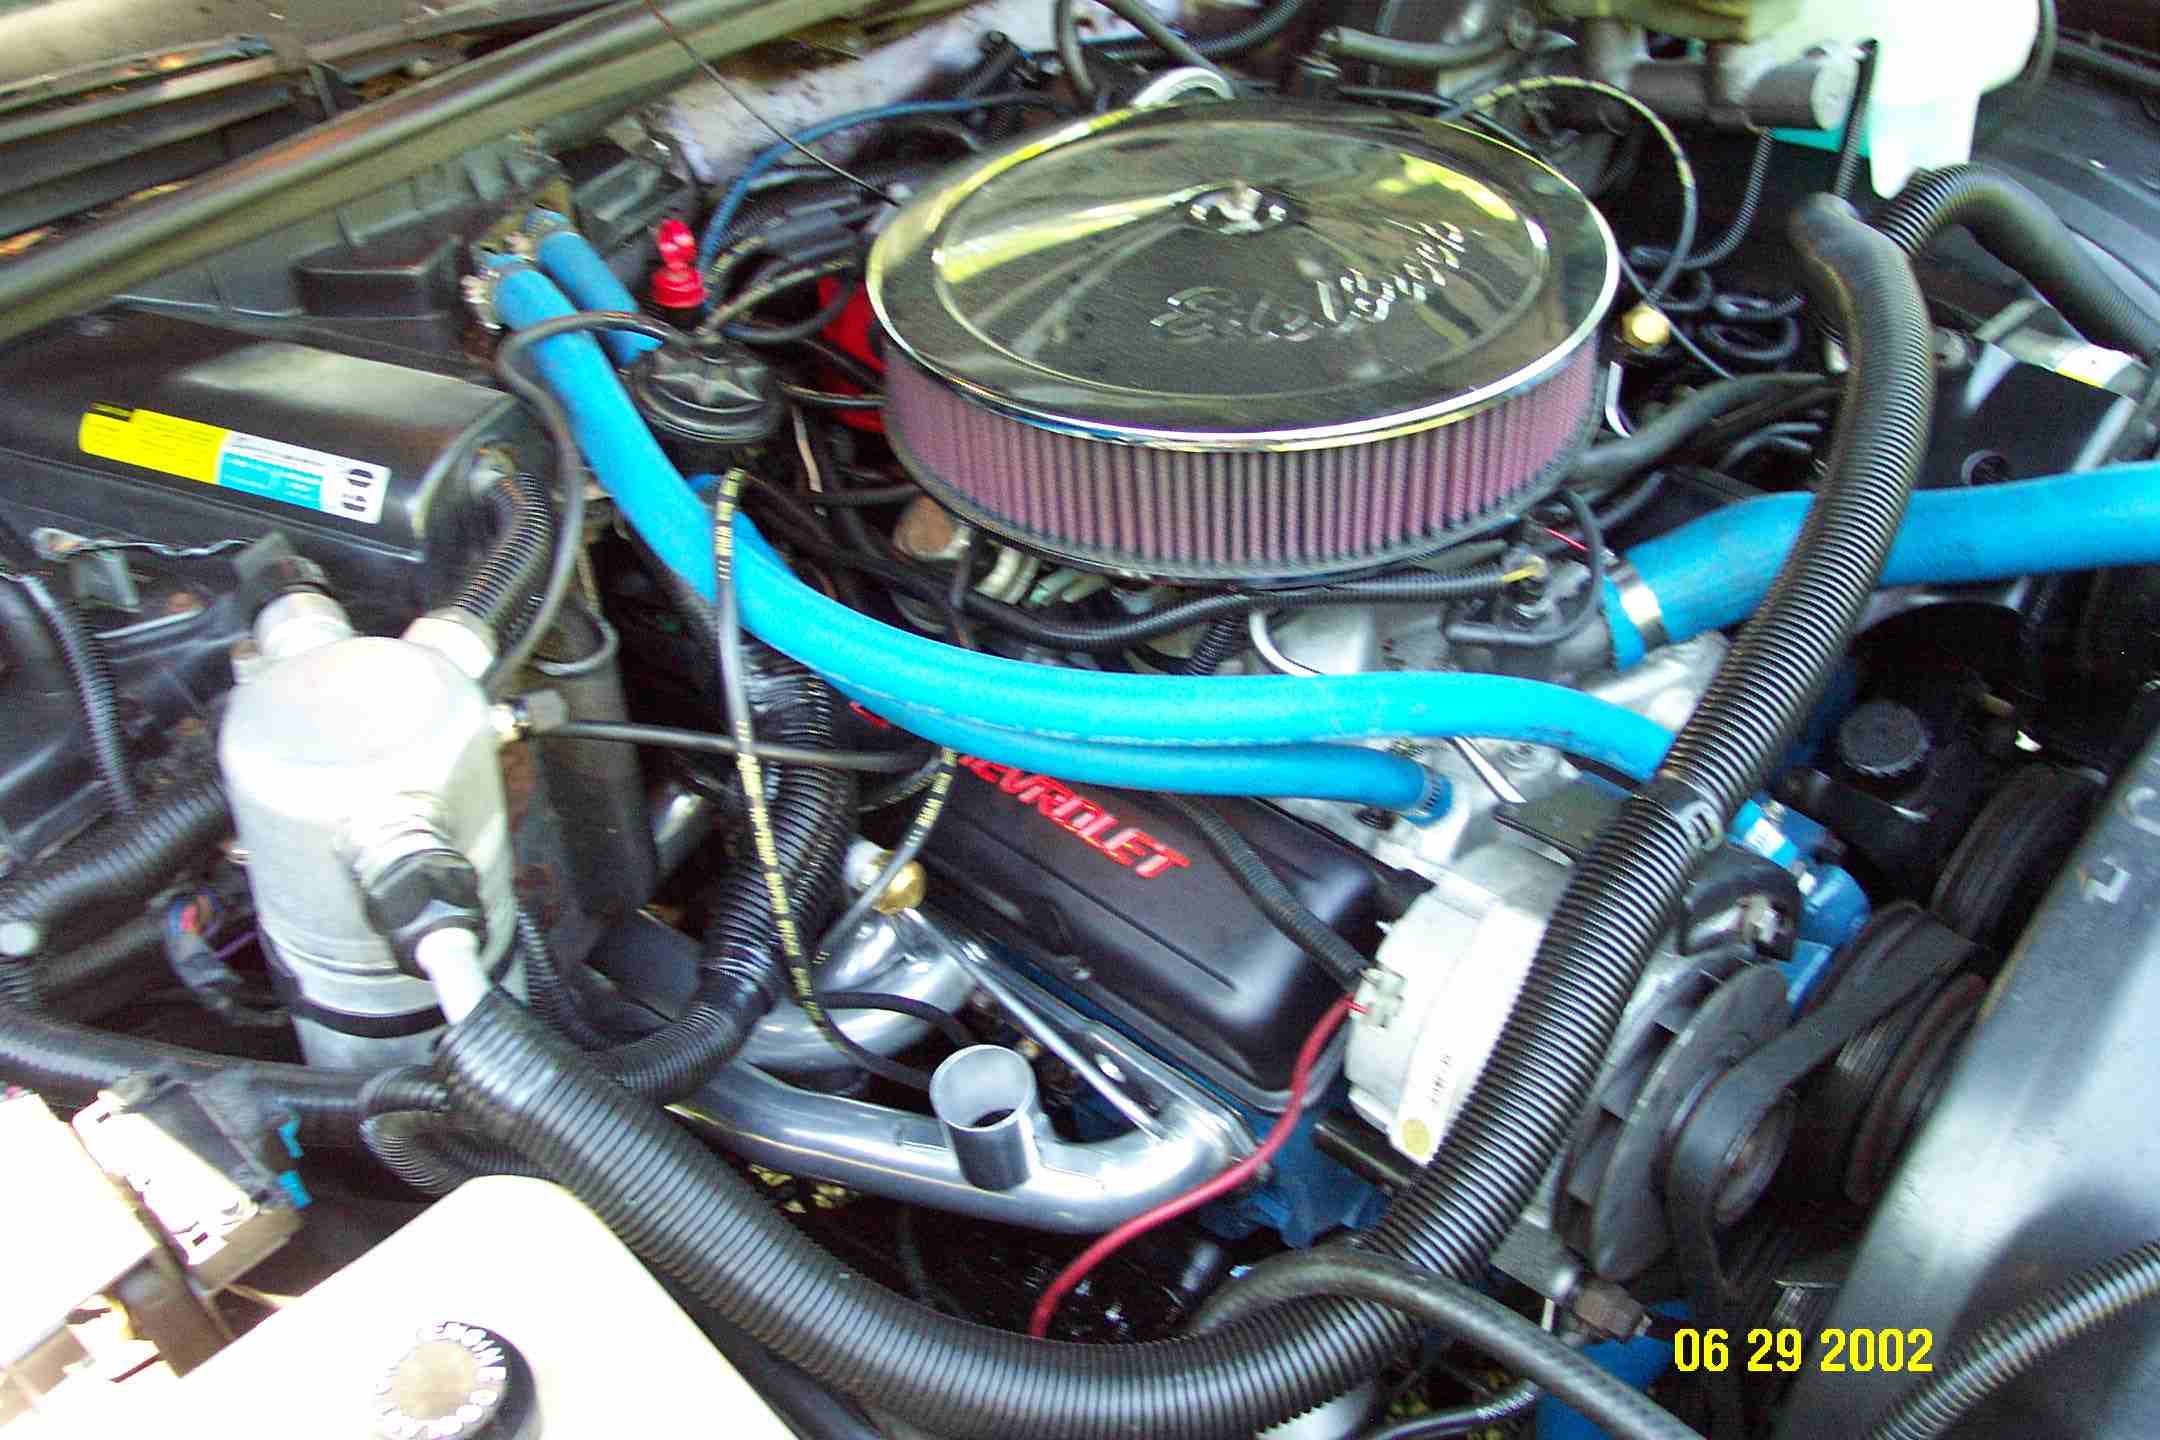
Front (Duh)
I got to say, this aint no 305. It pulls very hard off the line. I'm hoping for low 14s if not 13s.
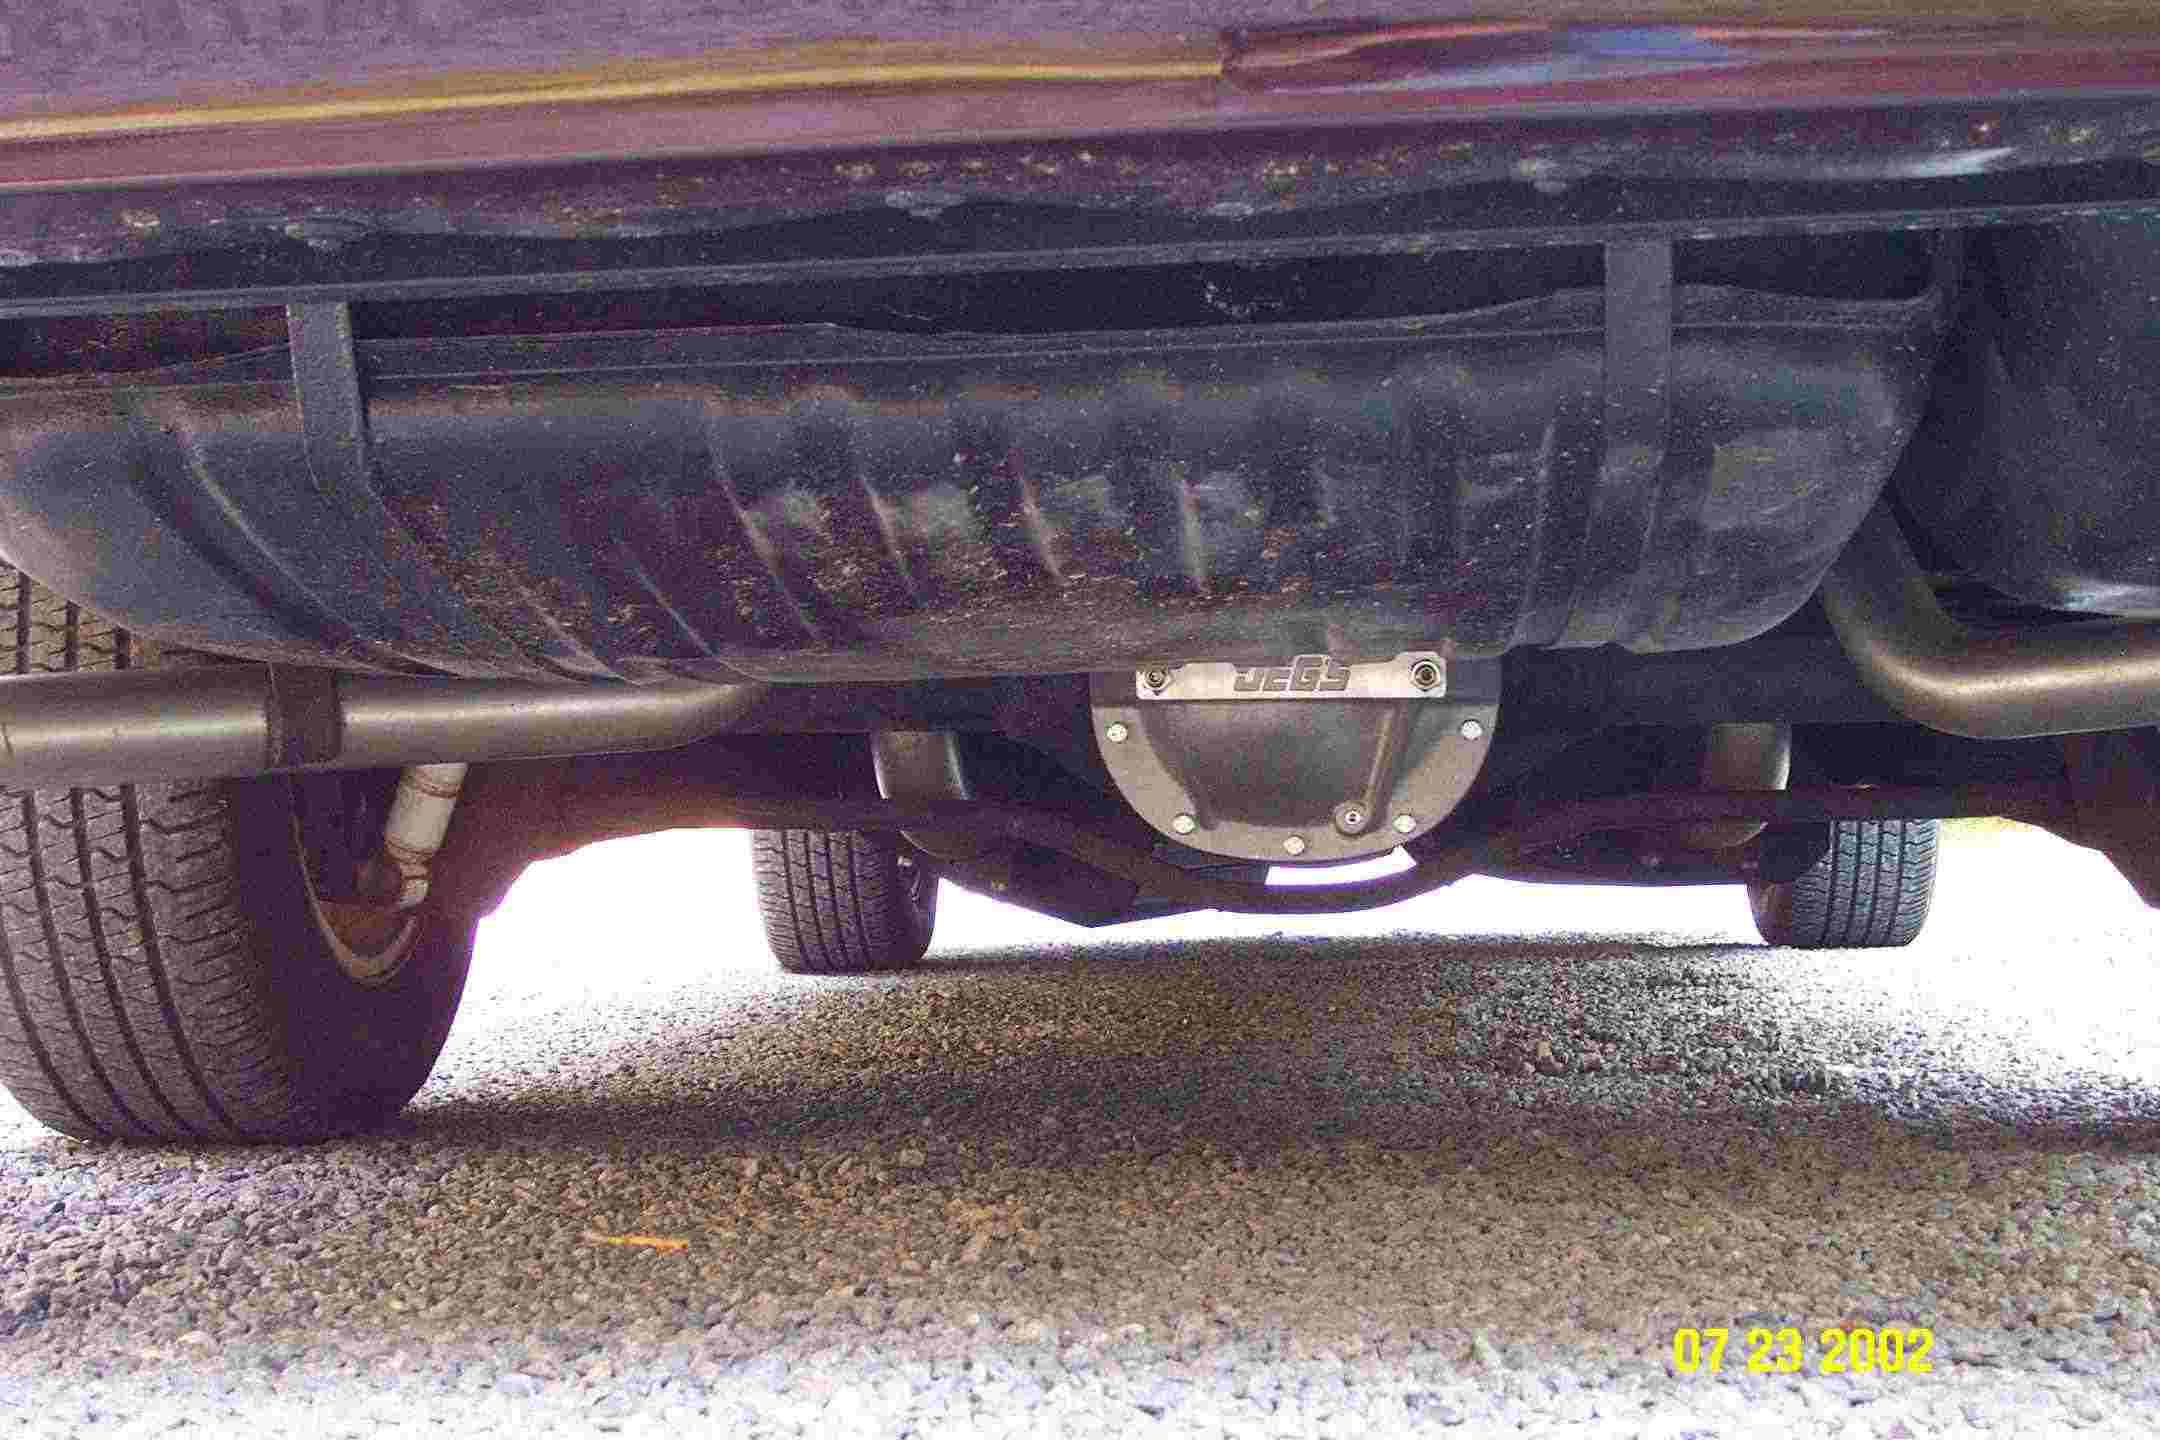
Since the 7.5" Rear isn't known for its strength, I added a Jegs rear diff cover w/ bearing cap preloaders. Its suppose to help out a lot.
Next will most likely be a new steel cowl hood because the stock paint looks like crap. It will get a nice complete repaint next year. New tranny fluid will happen before then though. Oh, I also installed my Moog Rear cargo coils and the fronts will be installed soon.
Stay tuned.